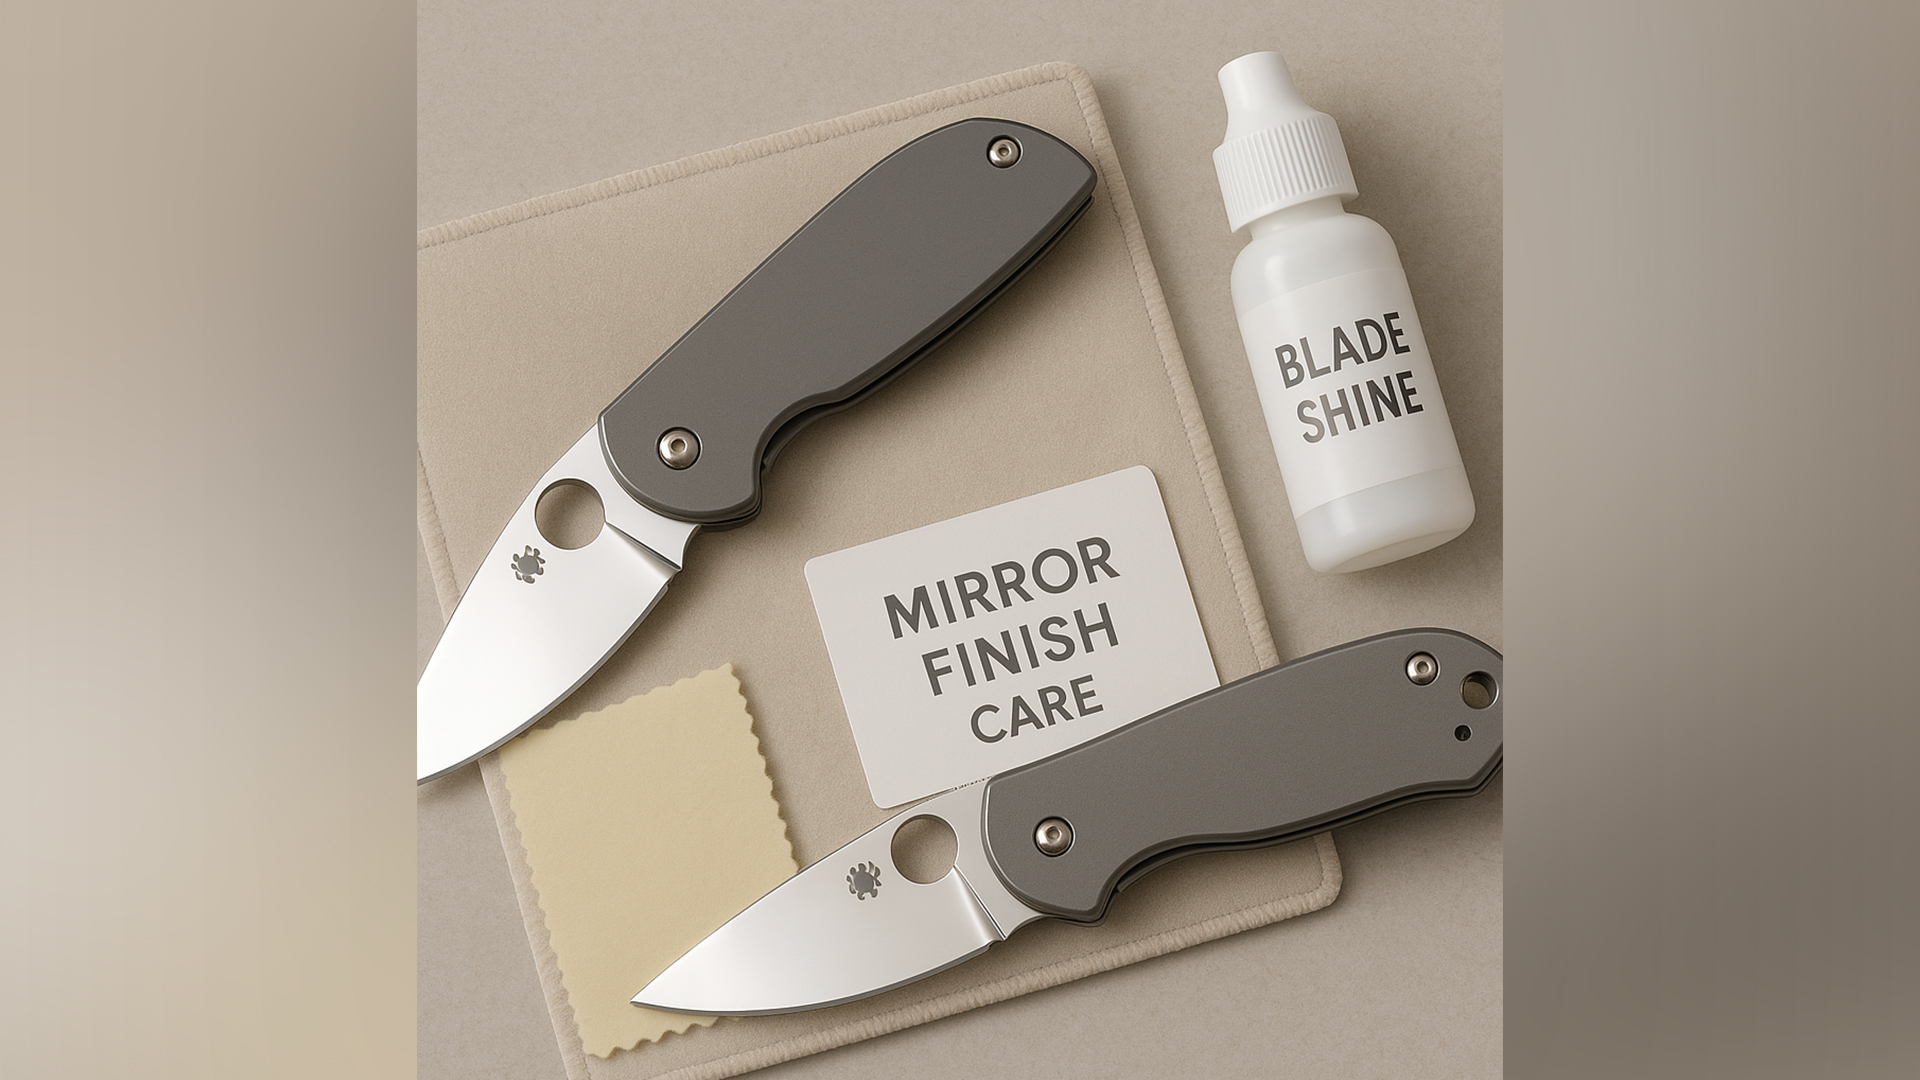
How to Achieve a True Mirror Finish on Your Spyderco Blade

This is the 47th blog of the Spyderco blog series. You can check the other blogs I wrote from here – https://spydercoparts.com/blogs
By Logan M. Fraser
Custom Knife Modder & Spyderco Parts Specialist
Based in Calgary, Alberta, Canada
Introduction: Why a Mirror Finish Matters 
Achieving a true mirror finish on your Spyderco blade is more than just about looks—it’s about performance, pride, and longevity. A polished blade reduces friction when slicing, resists corrosion better, and elevates your knife to a custom level of craftsmanship. As someone who has modified dozens of Spydercos over the years, I’ll share the exact methods, pitfalls, and pro tips I’ve tested in my Calgary workshop so you can get a flawless result without damaging your knife.
Understanding the Mirror Finish 
Before starting, know why mirror polishing works:
-
Less drag: Smooth surfaces create less resistance during cutting.
-
Corrosion resistance: Polishing minimizes microscopic scratches where rust can start (Spyderco official care guide).
-
Aesthetic value: A mirror blade stands out in any collection.
Competitors often gloss over the risks, but rushing the process can overheat steel or round off your bevels—permanently ruining edge geometry.
Tools and Materials You’ll Need 
-
High-grit wet/dry sandpaper (600, 800, 1200, 2000, 2500)
-
Quality polishing compound (e.g., Flitz or Simichrome)
-
A rotary tool with felt wheels (optional but speeds up the process)
-
Masking tape for protecting logos and the blade spine
-
Microfiber cloths
-
Lubricant like WD-40 or honing oil for wet sanding
Pro tip: You can find replacement screws, washers, or scales at Spyderco Parts if any components need swapping during disassembly.
Step 1: Disassemble and Prepare the Knife 
-
Remove the blade carefully using the right Torx driver.
-
Tape off areas you don’t want polished.
-
Degrease the blade with isopropyl alcohol to ensure no residue interferes with sanding.
Taking your knife apart allows you to polish evenly without scratching the handle or liners.
Step 2: Progressive Sanding for a Flawless Base 
Start with 600-grit sandpaper using light, even strokes along the blade’s length. Work up through 800, 1200, 2000, and finally 2500 grits. Always sand in alternating directions between grits to track progress and remove previous scratches. Use a lubricant to keep the surface cool and prevent heat buildup.
Why this matters: Overheating can ruin the blade’s heat treatment, a critical detail often ignored in other guides.
Step 3: Polishing to a True Mirror 
Apply polishing compound to a felt wheel or cloth and work the blade in small circular motions. Repeat until you see your reflection clearly. For a deeper shine, alternate between polishing and wiping down with a clean microfiber cloth. Check your progress under good lighting—imperfections show up easily on a highly polished surface.
For an in-depth comparison of polishing compounds, check Knife Steel Nerds for metallurgy-backed insights.
Step 4: Reassemble and Fine-Tune 
Once you’re satisfied, reassemble your Spyderco carefully, applying a dab of lubricant to pivot points. Test the action and lockup before putting the knife back into rotation.
This is also a perfect time to upgrade hardware or scales. For example, a titanium clip or custom washers from Spyderco Parts can complement the fresh finish without over-promoting—just a practical suggestion.
Step 5: Maintenance and Long-Term Care 
A mirror finish won’t stay perfect without care:
-
Wipe the blade after each use to prevent fingerprints or acid marks.
-
Store knives in a dry place with silica gel packs.
-
Touch up the polish occasionally with a mild compound.
Following these tips keeps your blade looking showroom-ready for years.
Common Mistakes to Avoid 
-
Skipping grits: Leads to uneven polishing lines.
-
Overheating steel: Weakens edge retention.
-
Using aggressive wheels: Can round off crisp bevels.
Avoid shortcuts—mirror polishing is a marathon, not a sprint.
Final Thoughts 
A true mirror finish on a Spyderco blade is a rewarding project that adds both beauty and function. By taking your time and using the right tools, you can achieve a professional-level shine without ruining your edge geometry.
Have questions or a specific step you’d like me to elaborate on? Drop them in the comments below 

